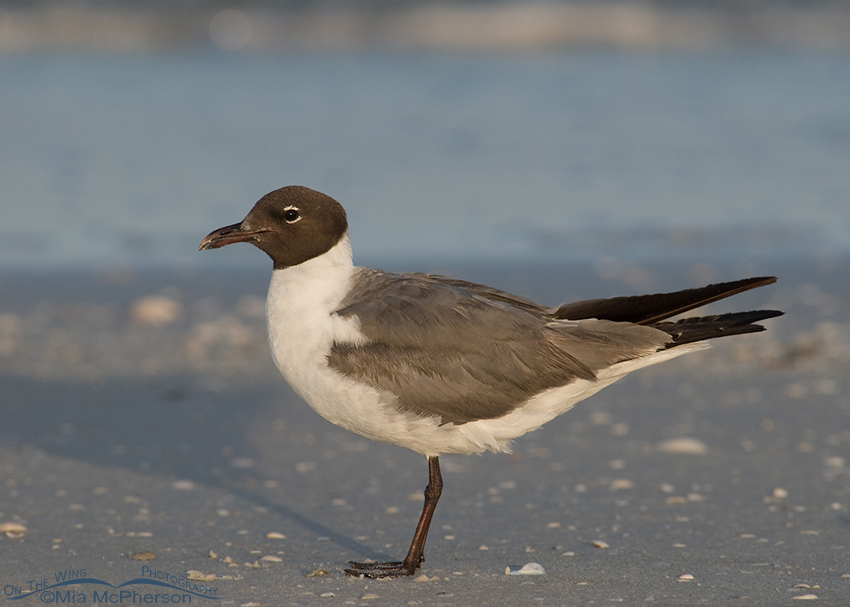
Laughing Gull White Balance Mess up and Fix

All photographers mess up, some times it is the focus, sometimes it is not having enough shutter speed for active subjects and sometimes a dial gets bumped and when it is not noticed it can affect all the images taken after it has been changed.

Laughing Gull - Manual White balance mistake

Laughing Gull – Manual White balance mistake

I bumped my White Balance from Auto before I took this image and the effect on this image is clear.  The plumage shown here is too brown for a mature Laughing Gull, only juvenile Laughing Gulls from hatching through the end of their first winter show brown, mature Laughing Gulls in breeding and nonbreeding plumage have gray backs, black on the wing tips and soft white necks, chests and rumps.

manual-wb-laughing-gull

Because I shoot in RAW and bring my RAW files into Adobe Camera Raw (ACR) I’m able to see the Temperature of my images and in this case I can see that the temperature of my white balance was 7100, way too high and too yellow for the conditions I was shooting in.

Laughing Gull - White balance correction

Laughing Gull – White balance correction

Also because I shoot in RAW I am easily able to correct my White Balance within ACR, this is the same image but I applied corrections so that the gulls gray plumage looks gray, the whites look soft white plus the sand and water look the right color.

custom-wb-laughing-gull

I made the adjustment by moving the slider towards the blues, in this case 5500 fixed my White Balance issue in the frame. Now the bird has the right colors for a Laughing Gull.

Mia

*I am away from home, please feel free to share this post with your family & friends.

Facebook Twitter

White Balance mistakes

Adult White Ibis (Eudocimus albus) in flight - tungsten WB version

Adult White Ibis (Eudocimus albus) in flight – tungsten WB version
Fort De Soto County Park, Pinellas County, Florida
Nikon D200, f6.3, 1/1000, ISO 160, Nikkor 80-400mm VR at 400mm, natural light (sort of)

Wow, did I mess up the white balance on the image above. I am almost ashamed to put this image into this post but I thought someone might learn from my mistakes.

A few things about my white balance settings before I go on to explain the tungsten blue mess I created above.

  • For the most part I use  Auto White Balance for my white balance mode on my Nikon D200 (OK, almost always)
  • I find that using auto white balance most often gives me the color tones I saw when creating the image
  • I do on occasion change my white balance (on purpose) if I feel I need to due to lighting condtions.

But I do screw up on occasion. On the day I took the White Ibis image above the action had been hot and heavy earlier in the morning and I am not sure when it happened but some how when I was changing settings for my ISO I must have fumbled with my fingers and also changed the white balance from auto to “tungsten”. I’m usually fairly confident about my exposures so I wasn’t looking at the LCD when the image previews came up on the screen. I was paying attention to my shutter speed and aperture while looking through the viewfinder but wasn’t looking at the control panel on the top of my D200 or I might have noticed that I wasn’t using auto white balance.

Live and learn though. I drove home, uploaded my images to my computer and began to preview them for culling. When I came across the first image after the white balance change I wondered what the heck had happened!

All I can say at this point is that I am very glad I shoot all of my images from my DSLRs in RAW format because I was easily able to get the white balance to where it needed to be to so that the image looked like the scene I saw through my viewfinder in ACR (Adobe Camera Raw).

Screen shot of ACR white balance adjustment tool

Screen shot of ACR white balance adjustment tool

 In ACR’s first screen on the right hand side there is a drop down next to “White Balance” where you can select different white balances.  For my ibis image I selected “Daylight” because that gave me the look of the frame I remember seeing through my view finder. Additionally you can use the “Tempertaure” slider, going left towards darker blue adds cooler temps, going right in the yellows adds warmer tones.

Yes, I messed up the white balance on my Ibis image but ACR helped me to correct it and I didn’t have to delete the file.

Adult White Ibis (Eudocimus albus) in flight - corrected WB version

Adult White Ibis (Eudocimus albus) in flight – corrected WB version
Fort De Soto County Park, Pinellas County, Florida
Nikon D200, f6.3, 1/1000, ISO 160, Nikkor 80-400mm VR at 400mm, natural light

The image above more accurately represents the color of the ibis and the sky on the day I created this photo.  The whites don’t have a unnautral blue cast and the sky is no longer a garish, unbelievable blue. The whole image has been improved by simply and easily adjusting the white balance.

After my experience with screwing my white balance up that day I had to make a note to myself to remember to check my white balance setting on the camera. And I don’t feel nearly as silly for messing it up in the first place.

Mia

 Note to Self

PS: I edit all of my images in Photoshop I don’t know how to correct white balance in Lightroom or any other photo editing programs.

More Ibis images

Facebook Twitter